What products are involved?
This article is based on using the Rheonics Sensor Module Electronics Transmitter Display (SME-TRD) and the Sensor View App
What is the purpose of this article?
This article demonstrates how to configure communication parameters on the Rheonics SME-TRD using the Rheonics SensorView App via Bluetooth Low Energy (BLE).
1. Overview
Rheonics SensorView App is a mobile application that connects with Rheonics sensors via Bluetooth Low Energy (BLE) for real-time monitoring. The SME-TRD transmitter supports Bluetooth connectivity, allowing users to configure communication parameters wirelessly, such as Ethernet, Modbus RTU (RS-485), Profinet Station Name, LCD Display, and Location ID.
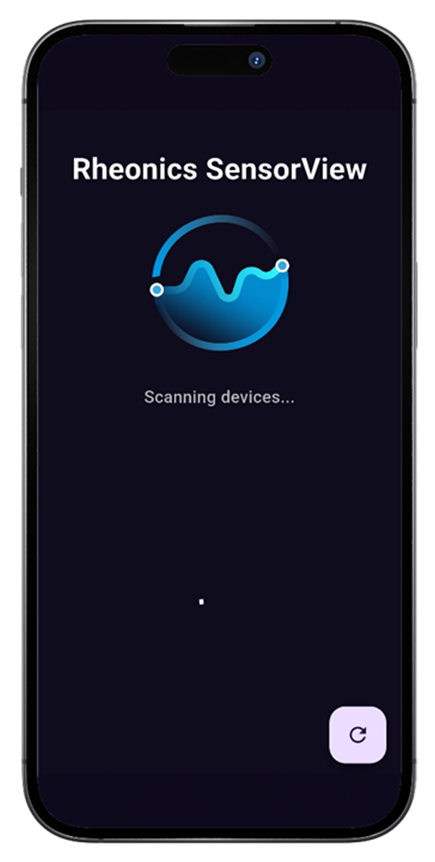
Figure 1: Rheonics SensorView App
2. Prerequisites
Rheonics SME-TRD with Bluetooth and Firmware Version 4
Rheonics SensorView App installed on your mobile device
Available on the Google Play Store and Apple App Store
3. Communication Configuration
1. After pairing the mobile device with the Rheonics SME-TRD over Bluetooth, the following screen appears. Click on the Communication panel.
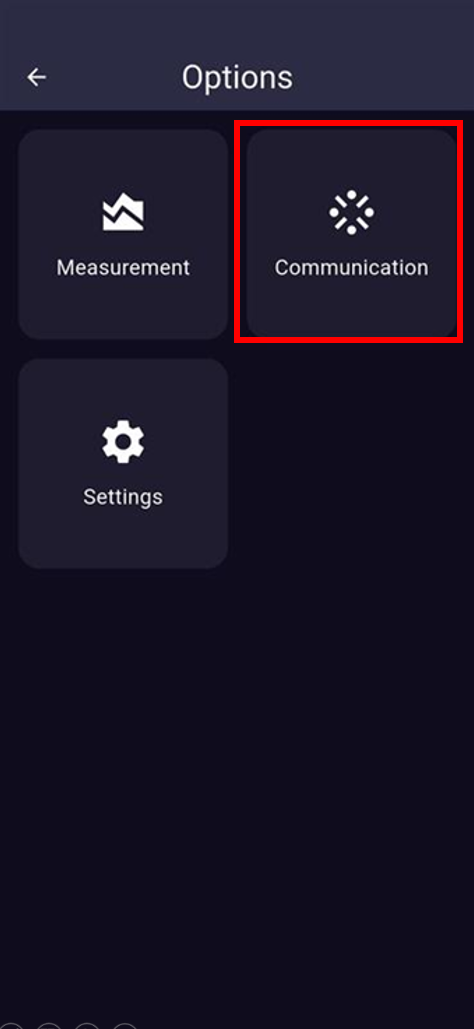
2. The following options appear:
Bluetooth LE 4.0
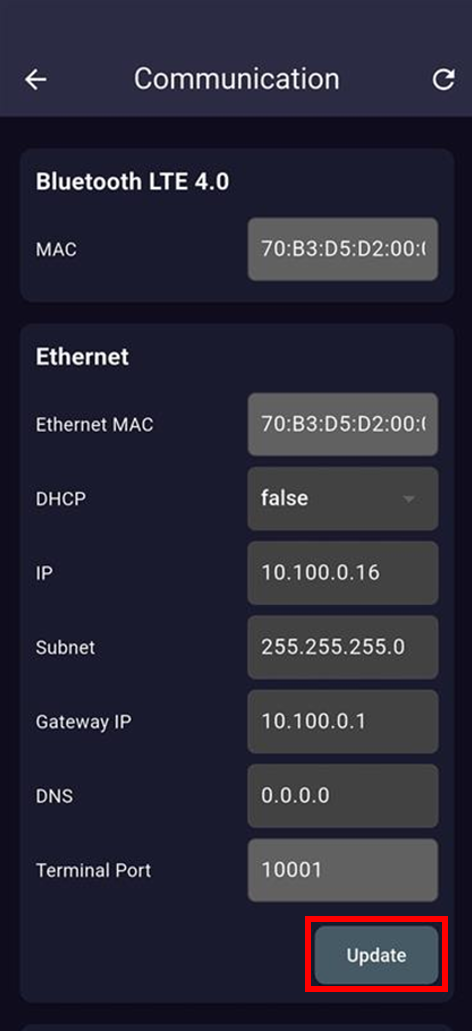
Ethernet
Modbus RTU (RS-485)
Profinet
LCD Display
Location ID
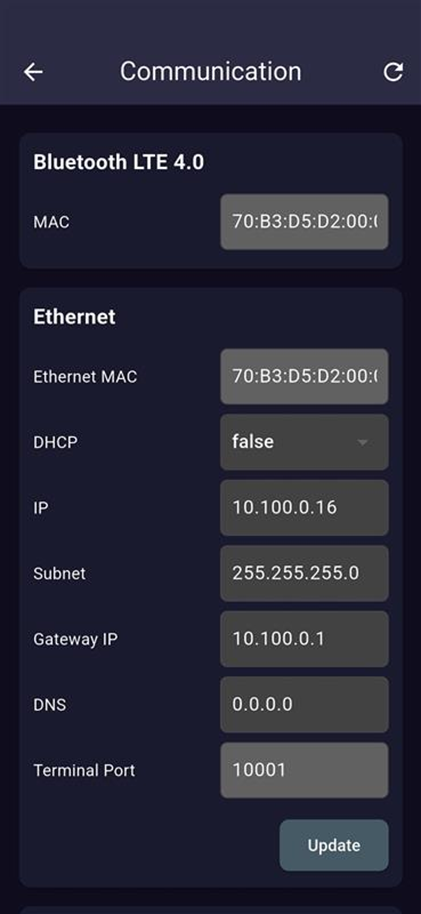
Note: Some parameters, such as MAC address (Bluetooth LE 4.0), Ethernet MAC (Ethernet), and Terminal Portal (Ethernet) cannot be modified |
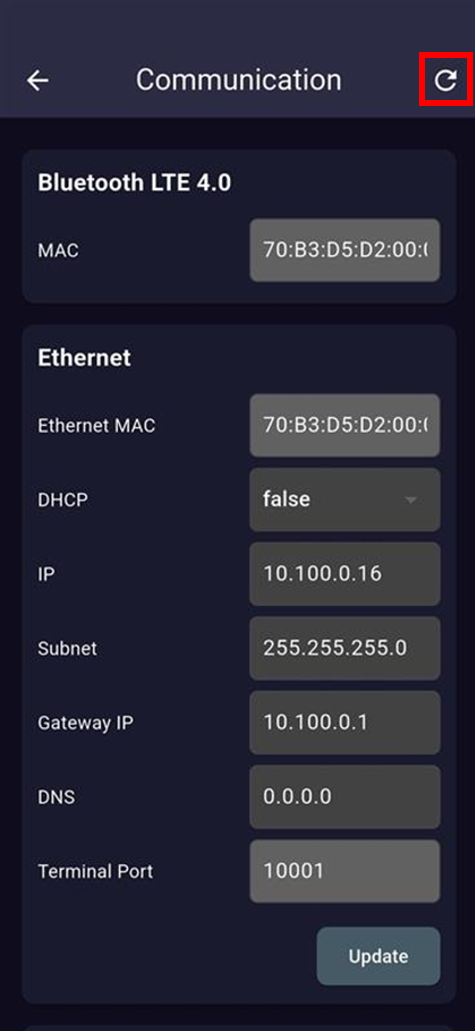
| If the values do not load correctly, press the Reload button located in the top-right corner. |
3. Follow the guidelines to be able to modify the parameters correctly:
| Communication | Parameters | Format | Notes |
| Ethernet | IP, Subnet, Gateway IP, DNS | A.B.C.D | Each letter is in the range of 0 to 255 |
| Modbus | Modbus Address | Positive integer | In the range from 1 to 247 |
| Profinet | Station Name | No spaces, no capital letters, and no special characters | - |
4. After inserting the parameters of a communication protocol, click on the Update button to apply the changes.
5. The confirmation message shown below appears once the parameters are updated successfully.
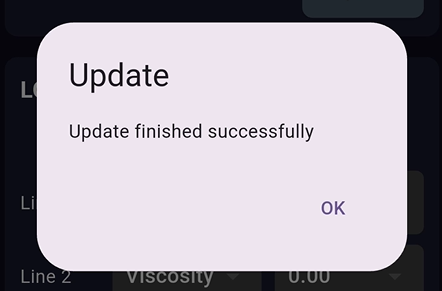 Figure 6: Confirmation message