- Which Rheonics products are related to this article?
This article is based on the use of the SME (Smart Module Electronics) from SRV, SRD, DVP, and DVM. Hence it can be used for any of these Rheonics sensors. - What is the purpose of this article?
To give guidance on the integration of SME with a controller based on Codesys using an Ethernet/IP communication protocol.
TABLE OF CONTENTS
- 1. General Concepts
- 2. Configuration steps for Ethernet/IP on CODESYS
- Troubleshooting
- Related Articles
- References
1. General Concepts
1.1 Ethernet/IP Overview
Ethernet/IP is one of the most commonly used industrial communication protocols, it enables data exchange between controllers and devices based on international standards. To link all the components in its network, Ethernet/IP requires standard Ethernet as the communication medium. It can operate on higher transmission speeds than other protocols and requires names and IP addresses for all devices.
1.2. CODESYS Overview
CODESYS (Controller Development System) is a manufacturer-independent software for industrial automation technology. It follows the IEC-61131-3 standard to program intelligent devices and controllers. It is compatible with multiple device types and controllers. You can see which companies offer CODESYS-compatible devices here.
1.3. Prerequisite:
CODESYS software installed
Rheonics Sensor Electronics (SME) with Ethernet and Ethernet/IP enabled
The IP address from the Rheonics SME - this can be read out from the SME using RCP software
CODESYS-compatible controller.
1.4. SME Ethernet/IP connection
The Rheonics sensor is compatible with Ethernet/IP networks. For that, the Ethernet RJ45 port is used and it can be connected directly to the client’s PC or through a router, switch, or hub.

2. Configuration steps for Ethernet/IP on CODESYS
2.1. Creating the project
Click on the create project button

Add the name and location where the project will be saved, and select the “Standard Project” option.

On the new screen, we select the Control for Raspberry Pi SL device and the device will appear on the device tree.

2.2. Installing the EDS file in Codesys.
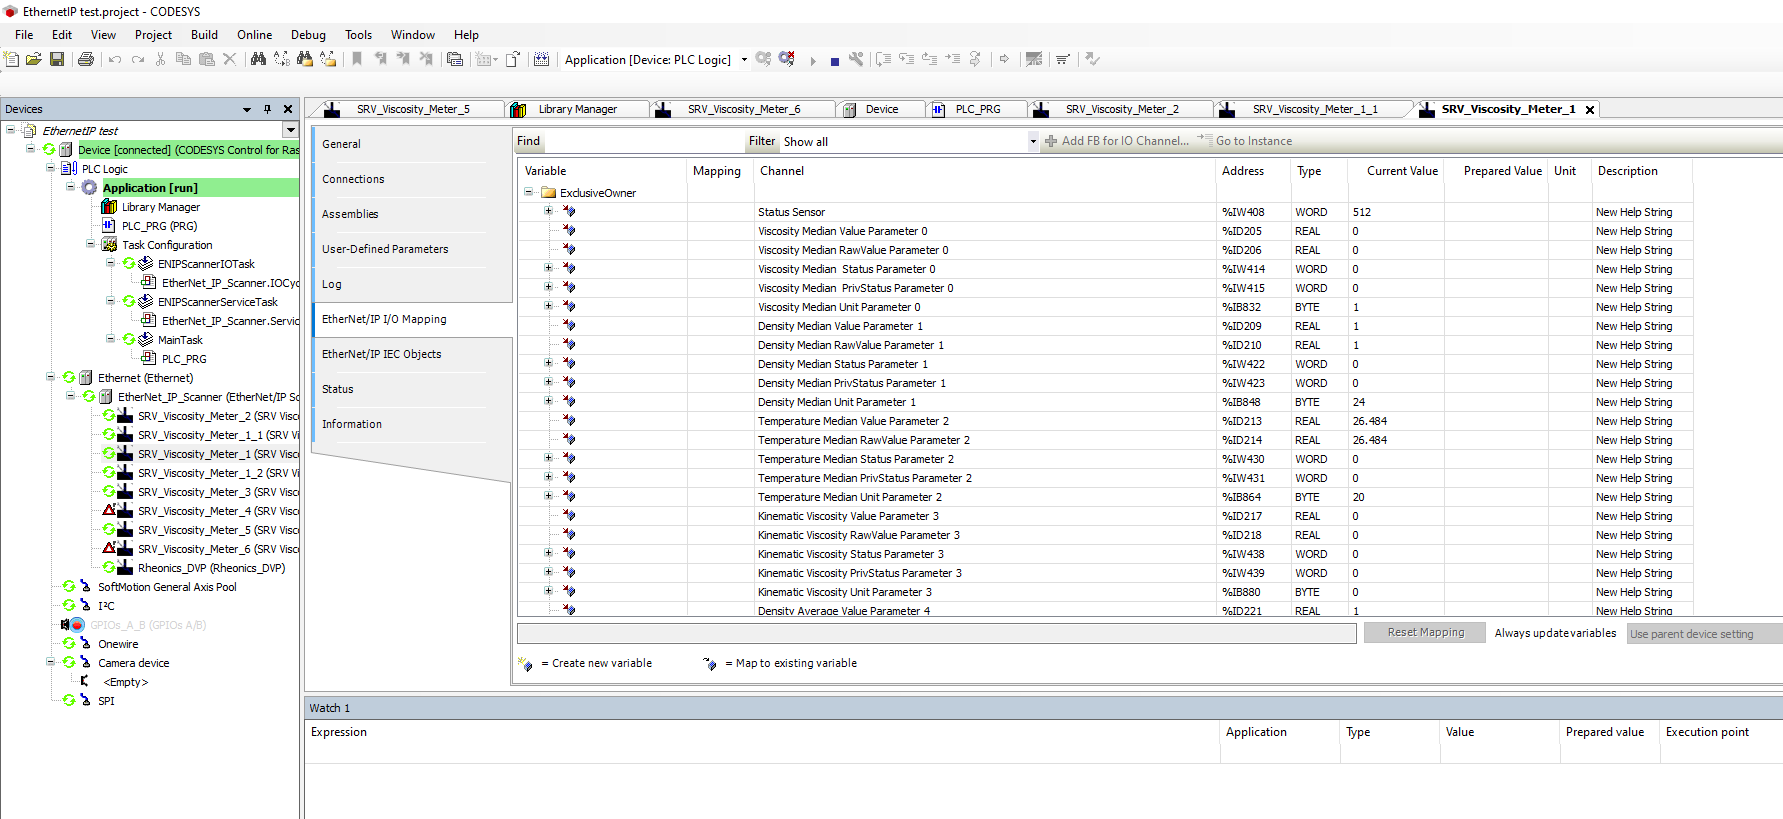
The eds file will allow the controller to understand the way in which the data coming from the SME is structured (Figure 14) and define each parameter from the SME. Not doing this step will require the programmer to manually set the configuration from the sensor.
Download the EDS files from Rheonics Support Page and install them in the CODESYS Device Repository with the next steps:
Go to "Device Repository" in the Tools Menu.
Select the "Edit Locations" option.
3, 4. Click on "Add" and indicate the path to the EDS files on the PC, write a name for the file, and click OK.

Select the EDS file, that matches the sensor that is being used for your application.

2.3. Select the controller device
With a Project created on Codesys, follow the next steps to set up the controller and establish an Ethernet/IP Network.
Double-click on the Device (previously selected when creating the Project).
2. Click on "Communication Settings".
3. Select the Gateway by default.
4. Click on “Scan Network” after selecting the gateway, this will open a pop-out window.
5, 6. With the scan process, the controller connected to the network should be shown. Select it and click OK.

With the device added, settings would look like this:

To update values received without the need to call parameters in the program, enable the following option.

2.4. Configure Ethernet Interface and Ethernet/IP Controller on CODESYS
1. Right-click on Device and select add new Device.
In the next window look for Fieldbuses, search for Ethernet/IP → Ethernet Adapter → Ethernet.
Finally, click on “Add device”.

4. With Ethernet in our project tree now, Right click and add a new device.
5. Select and add the Ethernet/IP Scanner.
6. Add the IP Scanner to the device tree.

7. Double-click on the Ethernet Device and select the network where our Rheonics sensor is connected.

8,9 Right-click on the Ethernet/IP scanned and select the “Scan for Devices” option.

10. The new screen will show all available devices that are Ethernet/IP compatible.

11. Select “Copy All Devices to Project”. Rheonics sensors are added to the project.

12. Once we go online with the controller, Codesys will notify us if there are any electronics with problems and which ones are running normally.
Troubleshooting
Check for common problems with Ethernet/IP and probable solutions at  Ethernet/IP troubleshooting
Related Articles
 Data point access over ETHERNET/IP
 Connecting the Ethernet/IP output
References
[1]: https://www.codesys.com/the-system/codesys-inside.html
[2]:  rheonics :: density meter & viscometer | inline fluid viscosity & density